sunnuntai 2. maaliskuuta 2014

Comparing BMCC RAW and Canon 5D Mark II Magic Lantern RAW

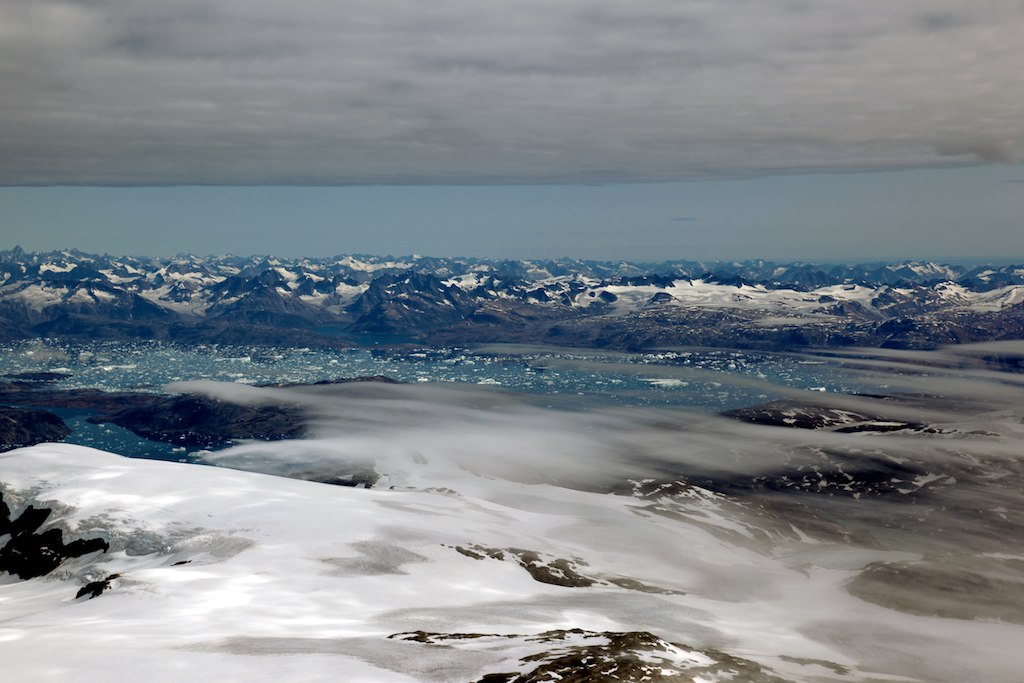
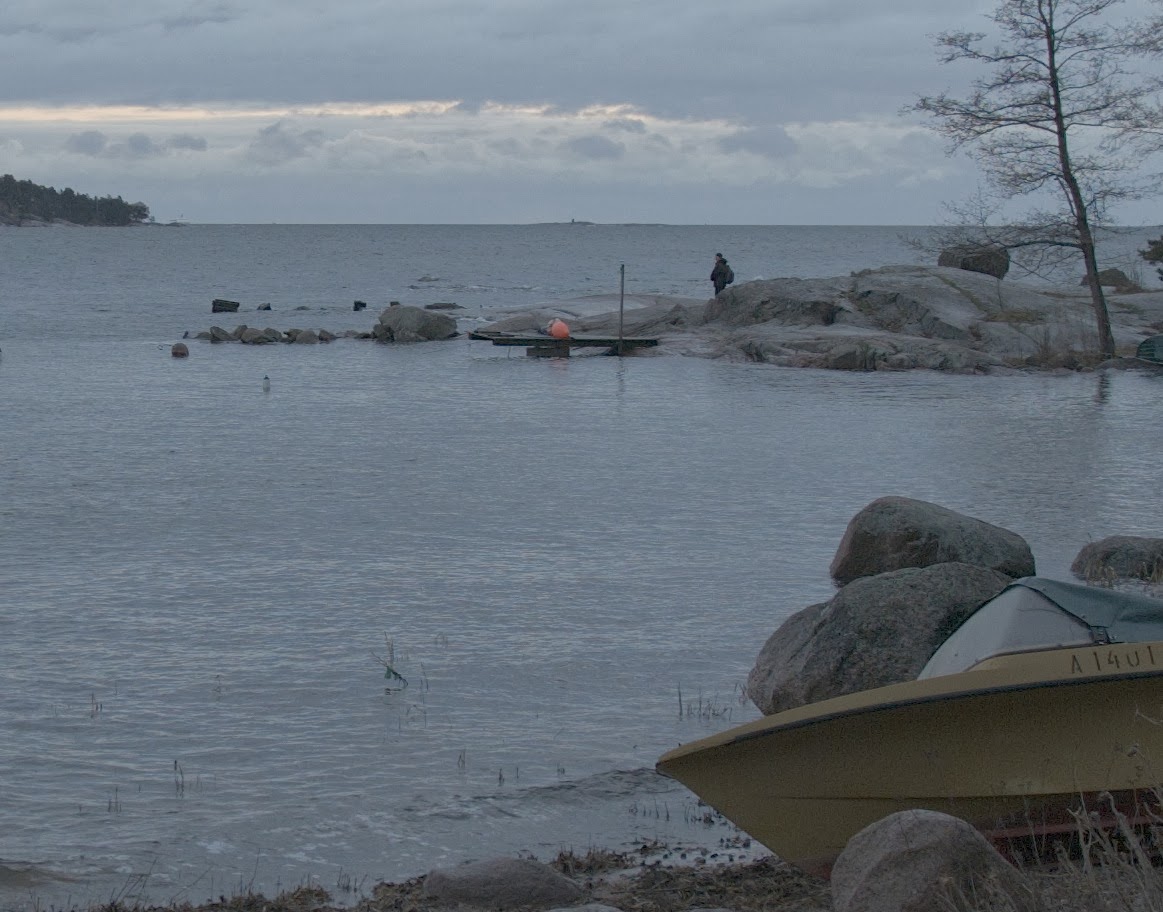
Here is a quick comparison with these two. In my opinion both can be inter-cut to same movie with no problem.

I am getting continuous RAW recording with 16GB Sandisk Extreme Pro 160 MB/s UDMA 7 card in the 2.35:1 crop on 5D mark II which is good enough IMO.

maanantai 20. tammikuuta 2014

Run Retina Macbook Pro at its native resolution for optimal BMCC video editing

The new Macbook Pros come with panel resolution 2880x1800. This is very good resolution for a laptop - it is more pixels than the current Apple Thunderbolt display or 27 inch iMac.

The problem with the scaling in the Retina Macbook Pro is that when you would really need more space, you don't have it. If you use Resolve or Final Cut Pro X, it is very annoying that the controls occupy a large portion of the screen when you would like to see the video in 1:1 pixels as large as possible. This of course makes it hard to see the controls, but I think it is worth it playing with this a little. At least my eyes are capable of seeing the very fine print and especially in FCPX where the controls are often bold fonts, it is even easier to see them even at the native resolution.

Read this article for switching the resolution http://www.everymac.com/systems/apple/macbook_pro/macbook-pro-retina-display-faq/macbook-pro-retina-display-hack-to-run-native-resolution.html

I have tested myself the Retina Displaymenu Link to RDM. It works great. It even allows switching my 2880x1800 panel to emulate 4K which is very nice. Well at least nice for seeing how much space I would have if I had a large 4K monitor. Everything obviously is too small to read. On the other hand, it also shows that the Macbook Pro is quite well capable of rendering the 4K scene without problems, including video on that resolution smoothly.

This way (by switching to native 2880x1800 resolution), you will have maximal space in Resolve too since Resolve insists of using only one monitor.

perjantai 10. tammikuuta 2014

BMCC vs. BMPC4K quick analysis

Summary:
BMPC4K is superior camera
Based on downloaded footage. Not tested by myself yet.

BMCC has maybe 1 stop more DR than BMPC4K but the latter wins in everything else.

If you shoot in controlled light, BMPC4K may be better choice. Want to shoot Battlestar Galactica style? BMPC4K is your camera.

If you shoot landscapes on tripod more than controlled light production and dont care about 4K, BMCC is your camera.

BMCC may be good b-camera for the BMPC4K.

These are initial thougjts. I want to test one myself for more accurate assesment.

sunnuntai 5. tammikuuta 2014

Libraw settings

To final colors (a bit like lut applied):

dcraw_emu -6 -T -H 1 -q 3 -n 0 -fbdd 0 -m 19 -c 0 -g 2.2 12 -b 1.5 filename.dng

I have used this to make clean green screen plates.

This produces clean flat images that can be used to build 2.5K ProRes that can be e.g. graded in FCPX using wvl_Colograde2.

/usr/bin/dcraw_emu -4 -T -H 1 -g 2.7 0 -m 19 -n 0 -o 0 -b 1.5 filename.dng

I have also experimented with dark frame for noise reduction

/usr/bin/dcraw_emu -4 -T -H 2 -g 3 0 -m 19 -n 100 -q 3 -fbdd 1 -o 0 -b 1.0 -K /usr/bin/bmccdarkframe.pgm

Qucik note on sharpening BMCC ProRes footage

I have been experimenting on how to sharpen the BMCC footage shot in the ProRes mode. There is a huge difference on the quality of the outcome for different tools. The sharpening tool in FCPX (from Motion) seems to filter the noise to become more prominent and less pleasing but it helps none to the actual image sharpness sometimes. I tried also SC_SharpenTools. This has very weird effect on one softer scene I shot with the BMCC.

However, in Resolve, dial in the followings on the sharpen tool page:

Radius 0.10 (the lower you drag down the slider, the more effect it will have, works backwards)
Scaling 0.07 (0.07 is needed to bring up fine details and not some macro details)

The results with the Resolve 10 sharpening are outstanding to anything else I have tried.

keskiviikko 4. joulukuuta 2013

Blackmagic Cinema Camera libraw + Aperture + Motion workflow


A 1:1 crop of a frame grab from this workflow. The water illustrates that there is no colored aliasing unlike on a BMCC ProRes version of the same scene would, this version is clean!

I have had a problem: I have a late 2009 27 inch iMac with a graphics card with 512 MB VRAM. It is a fine machine with lots of RAM and core i7 quad processor and gets quite high geekbench score still today but the only problem is the graphics card + Resolve combination. That 512 MB is not enough for using Resolve for grading my footage, by using Resolve lite, it is possible to barely grade short ProRes clips. Also the Resolve (even the paid version) does not seem to support outputting video with the original resolution of the BMCC without scaling it to e.g. 1080p or 2K. I want all the pixels, so I have been investigating a workflow that would both work on my iMac and also work with the software I have, without buying a lots of new software. And also I have sort of concluded that if I want to avoid getting a lots of aliasing to my footage, it is quite necessary to use the RAW recording on the BMCC, the downscaling in BMCC to 1080p HD causes lots of nasty aliasing and the image is much less clean than the ProRes of Blackmagic Pocket Cinema Camera. So the 2.5K Cinema Camera pretty much calls for using it in the RAW-mode only.

First I experiemented with open source raw converter called dcraw. However, I found in my testing that it is useless, because it scales the luminosity values in such way that it clips from both darks and lights, it is about impossible, no matter what parameters are set, to get a non-clipping flat image out of the dcraw converter - even if you succeed to create a flat image, it still has darks and lights clipped and dynamic range gets reduced by significant amount (and the biggest benefits of the BMCC are not realized.

Then I realized that it is possible to grade the dngs directly using Apple's Aperture. However, it turned out that it also clips darks and highlights. Moving the exposure slider has different effect than using +1 or +2 stops from the menu. And there was a choice to clip either the darks or clip the highlights by using the +1, +2 or -1 or -2 from the menu. No matter how the highlights, shadows and curves are dialed in, the image is clipped from either end to completely black or completely white despite it was not clipping as RAW at all.

I then discovered the libraw. THe libraw promises that it fixes dcraw's faults and according to my testing, it does do that. The dcraw's faults are not bugs, but features that the creator of dcraw insists according to what I read about it on the libraw page. Therefore libraw was found to be a potential solution. Libraw promises that it does not scale the luminosity and it indeed does not.

I compiled libraw for Mac and got it done, after lots of fight with the crappy automake system (thanks to Kate Alhola for sorting it out) that makes it much harder to compile than the libraw that compiles with one command and requires no dependencies, dcraw wins in this detail.

I have done a lot of testing to perfect the parameters in the libraw dcraw_emu to make the resulting tiff images to retain the maximal dynamic range that I could then grade in Aperture.

I created a following bash script for automating the libraw use:

dngconvert

echo "Dng converter that uses libraw"
echo "By Karoliina Salminen & Kate Alhola"
echo "Converting all files in a directory to tiff"
echo ""
mkdir dngs
for i in ./*.dng
do
echo "Task $i"
/usr/bin/dcraw_emu -4 -T -H 1 -g 2.7 0 -m 19 -n 0 -o 0 -b 1.5 $i &
echo "Sleeping before next task"
echo ""
sleep 3
done
mv *.dng dngs/
mkdir graded
echo "All done."
echo ""

Set execute bit on, chmod a+x dngconvert. I have copied this to /usr/bin to be able to run it from the terminal (as /usr/bin is by default in the path). The usage goes that I go to a folder where my Blackmagic Cinema Camera RAW footage is (the dng frames). I type:

dngconvert

And as a result all my dngs get converted to flat tiffs.

Now when this step is done, I start Aperture and import all the tiffs to Aperture project. I grade one image of the batch using the Aperture adjustments normally. When I am satisfied with the grade, I save it as a Effect - select Effect - Save as Effect. I give the name of the scene as effect name. You can delete these later when you no longer need them. Then I select the image thumbnail mode. From that I select the list view mode. I click the first image, scroll down to the last image, and by holding also shift key, I click the last image. All images get selected this way. Now I go to menu Photos - Add Effect - and then I select my effect. Such as Scene546. Then wait that the effect gets applied to all images and all images are successfully now looking the same.

After verifying that all images are now correctly grade in the thumbnail view. Select all images and select File - Export Versions - TIFF Original Size 16 bit. Now export the graded versions to the folder that got greated under your scene folder, e.g. BMCC_1_2013-11-06_0544_C0002/graded. Use the original version names (important, otherwise your images end up in wrong order in the next step). Wait export to be complete.

Now you have to join the tiff images together to make a movie. I use ffmpeg for the task. You can find an already compiled ffmpeg from the net. Or you can compile your own if you are adventurous. I have a script called proresencode placed in /usr/bin folder and it contains the following line:

ffmpeg -f image2 -pattern_type glob -i '*.tiff' -r 25 -vcodec prores -profile:v 2 -an $1

Now when you have this created and chmod a+x proresencode done, and the file is copied to /usr/bin (sudo cp proresencode /usr/bin/), I can go to the graded folder and type just proresencode myscene.mov. And a movie file called myscene.mov is created based on the tiff sequence in this folder. Now you have 2432x1366 pixel size ProRes file.

Now you have the next problem, Final Cut Pro X has custom resolution crippled in such a way that you can't use custom resolution with custom resolution choice. You can't edit your footage and or it gets scaled down to HD. What you can do next is that you instead of the flawed FCPX, import these to Motion instead.

Create new Motion project at resolution 2432x1366, 25 fps (or as many fps you have in your footage, depending the choice in the BMCC). You can do the same basic editing tasks in Motion despite it is not really meant for that. But it works. You can now join your clips together and join also your potentially serarately recorded audio. You can use your audio track from the folder (the wav file) as reference to align your separately recorded audio (e.g. if you have Zoom H4n or similar audio recorder to accompany your Blackmagic Cinema Camera).

Now export your movie from Motion (under Share-menu). Use the option "Same as Source". And now your graded movie gets exported and it is full 2432x1366 resolution Blackmagic Cinema Camera movie with no or very little aliasing and with the full dynamic range retained and the Resolve step is avoided and also is avoided buying new software eg. Adobe Lightroom if you don't have it already. And also the libraw does with the settings above, less aliasing than the Adobe, your footage will be very clean. And it will have about zero colored aliasing. The BMCC footage now looks like it should look like - ultradetailed and with very high dynamic range. It was quite a bit of work to do that, but this workflow works for me.

According to my testing this produces much cleaner images for green screen compositing than the other options, including Resolve. libraw debayer with above settings produces extra clean image. It may not be as sharp as the sharpest I can get from Phase One debayer, but it is a tradeoff - aliasing or extra sharp. I tried to make the resulting images photographically real with my setting above. To my eye results are quite pleasing.

One example frame: KaroliinaJaKateBMCC_1_2013-11-06_0546_C0004_000089.dng.tiff

keskiviikko 30. toukokuuta 2012

North Atlantic Adventure Photo Gallery

Here is a photo gallery of our 2009 North Atlantic Adventure.

Here is a photo gallery of our 2009 North Atlantic Adventure. IMG_1321 North Atlantic Adventure Gallery at Flickr

torstai 2. helmikuuta 2012

Expose properly with a DSLR

I have long time followed exactly the histogram of the DSLR to expose so that as much of the dynamic range is covered. However, that is not ideal in all cases.

In most cases shadow detail is what is lacking and the picture looks very dark and even unpleasant sometimes. Video codec, aliasing, lack of resolution etc. makes things even worse. This occurs mostly when shooting at available light outside and sun is pointing somewhat towards the camera (or some other light source doing the same). Even when it is not directly pointing to the camera, the areas on front of it will be very easily dark. Sun is extremely powerful light source and competing with it with exposure can be tricky.

People usually shoot with flat picture profiles, which a little bit helps on this case too. However, flat picture styles will reduce the available dynamic range because it compresses it. You will get more shadow details because the blacks are moved to right in the histogram, but the image quality reduces.

I found an old article which recommended exposing towards the right side (towards highlights) of the histogram. I could not believe it because I was thinking that I will lose dynamic range if I do that. I made an experiment: I shot an evening scene which was exposed as dark as it was naturally to the eye. Looks like the right way to do it? Yeah right. I took another shot which I overexposed it so that the histogram was leaning to the right (highlight side) so that everything was too light still without clipping the highlights.

As expected from my experiment: the scene that I made to look like it was in reality looked like it was in reality. Fiddling with Aperture - there was some noise and I could not get much more shadow detail out of it than there was. It was like it was exposed to look like it was and that's it. No further alterations very much possible.

Ok now I then went to the next picture which was overexposed and a bit too bright. It looked like a failure to begin with. However, after I adjusted the exposure in Aperture, it started looking like it looked to the eye in the evening. And guess what - it had less noise - with same ISO setting! I could find lots of shadow detail in the picture.

I was recently also looking my old video scenes that I have shot for example in North Cape. In general they are rather muddy and dark. Some have rather unpleasant look. I have been trying to adjust them with Color and then with these couple of free plugins for FCPX but if I bring up the blacks, block artifacts and noise start to show up rather severely and the video quality drops to almost to a level of SD. In middle of these scenes there was one overexposed scene. And voila, when I exposed it in post processing towards blacks, there was lots of shadow detail, and even highlight detail in the scene and no visible noise.

So what I do now when I shoot next time (this is still an experiment, so don't ruin your footage based on this instruction, or if you do, do it with your own risk): - I use a bit less flat picture style than e.g. Technicolor because the picture style after all is not a holy grail and does not fix all the problems in the exposure there are because the file format is not 12 bit RAW. Neutral picture style with contrast reduction is fine. Another possibility is to use Technicolor Cinestyle profile with contrast setting in the middle (not dialed all the way down). - Then I expose a bit towards highlights but make sure the highlights do not clip (otherwise the image quality will be low because highlights are clipped).

torstai 13. tammikuuta 2011

How to convert Canon EOS 5D Mark II h264 mov to image sequence part 1

I was trying to make image sequence for voodoo camera tracker software for 3D compositing in Blender. I tried to find a way to do it in either Final Cut Pro or Compressor. So far no luck. However, great open source software comes into rescue fortunately.

First I tried using ffmpeg and it failed - apparently it only converted keyframes successfully and the frames between them were gray with only the changing part of the frame visible (and obviously it looked really bad). Then after that I tried using mplayer. It was more successful.

This line converted my movie into png sequence
mplayer MVI_2894.MOV -ao NULL -vo png

There are still problems:
- voodoo takes in tga sequence and now I have a png sequence
- there is a gamma problem, this video has different gamma than the image sequence that results - the image sequence has too high contrast.

I will try to continue with this quest but decided to type this short mention that what seems to be a good way to extract the image sequence out of the H264 HDSLR video.